Mastering the Art of Gluing a Table Tennis Racket
Introduction
Gluing rubbers onto a table tennis racket might seem like a straightforward task, but there’s a finesse to it that can significantly impact your game. In this comprehensive guide, we’ll delve into the meticulous process of gluing a table tennis racket, covering everything from selecting the right equipment to mastering the application technique.
Equipment Selection
Before diving into the gluing process, it’s essential to ensure you have the right equipment at hand. Here’s a rundown of the equipment used by many enthusiasts:
– **Wood:** Donic Original True Carbon is a popular choice.
– **Rubbers:** Blue Grip C2 for the backhand and Blue Star A1 for the forehand.
– **Glue:** Opt for a medium layer of glue that provides adequate adhesion without drowning the rubber.
Applying the Glue
The key to a well-glued racket lies in the application of the adhesive. Follow these steps for optimal results:
1. **Apply Medium Layer:** Begin by applying a medium layer of glue onto the rubbers. Aim for a balance—neither too sparse nor too excessive.
2. **Spread Evenly:** Ensure the glue is evenly spread across the rubber surface, avoiding discrepancies in height or adhesive quantity.
3. **Allow Drying:** Let the first layer of glue dry completely. It’s crucial to wait until the glue loses its color and attains a dry, clear appearance.
4. **Second Layer (Optional):** Some players opt for a second layer of glue for enhanced adhesion. Apply a slightly smaller layer than the first one to prevent excess thickness.
Gluing the Racket
With the rubbers prepared, it’s time to affix them to the racket. Follow these steps meticulously:
1. **Apply Glue to the Racket:** Once the glue on the rubbers has dried, apply a layer of adhesive to the racket.
2. **Wait for Drying:** Allow the glue on the racket to dry completely before proceeding.
3. **Attach Rubbers:** Carefully place the rubbers onto the racket, ensuring proper alignment.
4. **Press Down Firmly:** Use a plastic piece or newspaper to press down firmly on the rubbers, ensuring a secure bond.
5. **Trim Excess:** Trim any excess rubber with precision, using a suitable pair of scissors. Left-handed players should opt for left-handed scissors for optimal results.
Final Touches
Completing the gluing process requires attention to detail. Here’s how to finish it off flawlessly:
– **Clean Rubbers:** After gluing, clean the rubbers thoroughly to remove any dirt or excess glue. This ensures a pristine playing surface.
Conclusion
Mastering the art of gluing a table tennis racket is a meticulous yet rewarding endeavor. By following the steps outlined in this guide, you’ll not only ensure optimal performance but also prolong the lifespan of your equipment. With a well-glued racket in hand, you’re ready to unleash your skills on the table tennis court. Mission success!
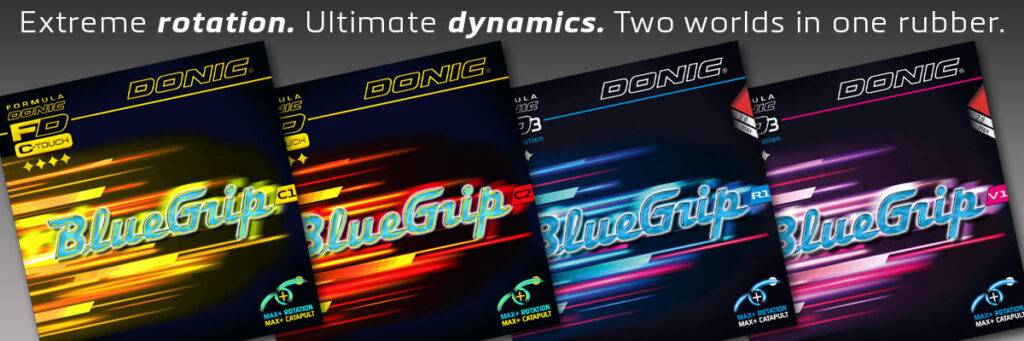
Anders has relied on #DONIC for many years and plays with an Original True Carbon blade and Bluegrip C2 on Backhand and BlueStar A1 on Forehand.